
Android app development is a quite interesting discipline in software engineering course and as such, it is full of interactions and execution of programming guidelines.
Without much emphasis, this post would be based on how to add margins to each images embedded in an android app page so as to enable easy scrolling from one point to the other which could be horizontal or vertical or even both combined together in the same page at times and for more clarity.
In using Sketchware Software to make margins of different features in an app pages such as images, text and whatever the following steps should be followed thoroughly for easy execution from the Sketchware Software.
These steps are as follows:
1- Normally, linear(vertical) layout is usually selected in the start of app creation but the otherwise is the case here, so you select Linear(horizontal) layout and increase the width by choosing "Match Parent" from the width icon.

You can off the toolbar icon by selecting the main.xml bar in the left lower corner of the Sketchware Software interface beside the box for easy execution of the app development guides.
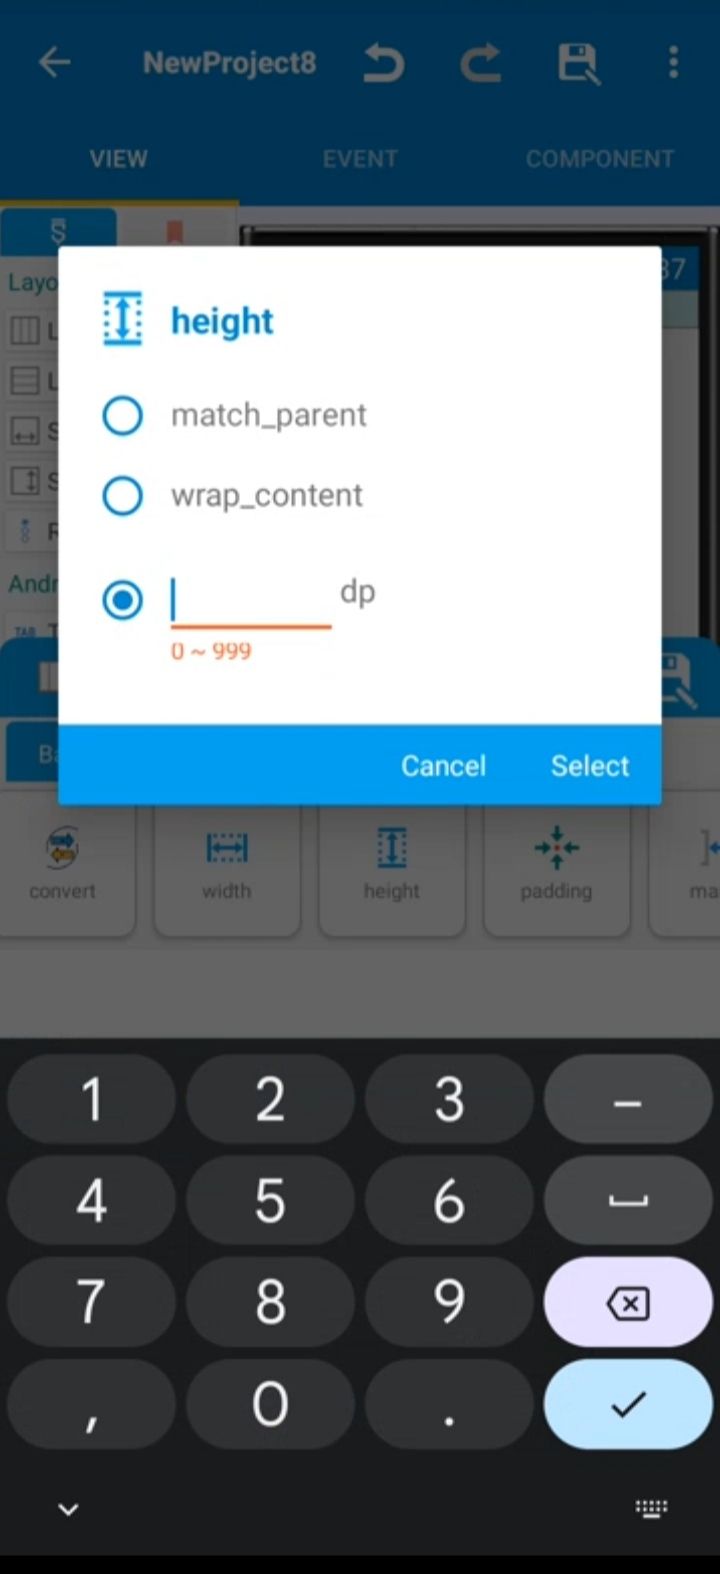
2- Moreover, select the height icon from the options at the bottom of the software and adjust the height size to 150 dp.
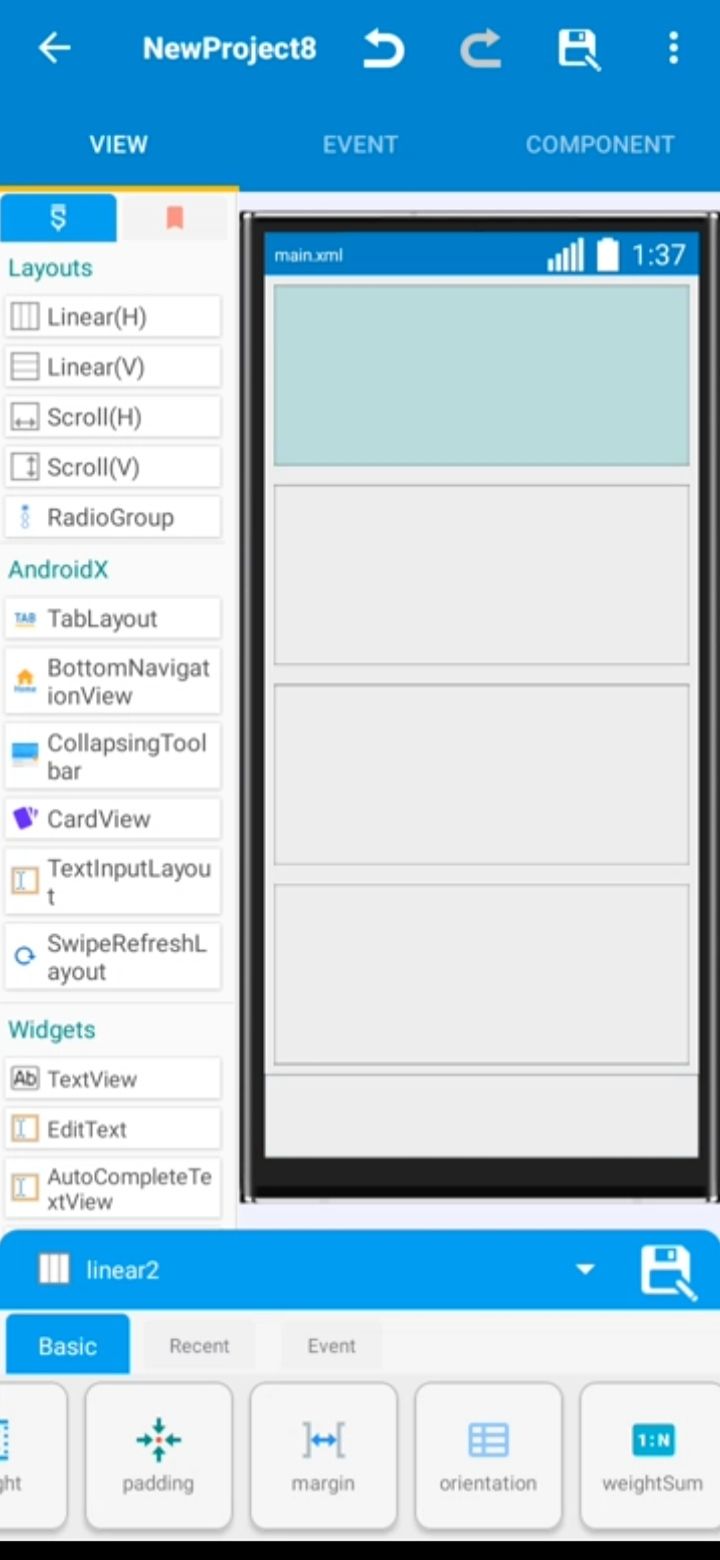
3- Repeat the two aforementioned steps above to create like five different boxes so that the page would be filled up completely with horizontal layouts together with adjusted height sizes of the same dimension in which 150 units was used as a case study for this post.
4- Next thing is to give margins to each of the created horizontal layouts in the app page so they can standout with smaller distances from the edges of the page. This is done by clicking on the "Margin" icon below.
The marginal dimension could be chosen to be different from each position or it could be same for each of the position left, right, top and bottom or so. In this case 8 is chosen as the unit of dimension for all the position. A larger dimension could be chosen for significant changes to be achieved.
5- Furthermore, gravity is added via the "gravity icon" to each of the horizontal layouts so as to give chance for the proper placement of the imageview and textview which would in turn dictate where to position the image and the corresponding text accordingly as reiterated in the previous posts.
6- Last but not least, images and text can be added respectively based on the pre-added gravity positions available on each of the horizontal box layouts which will eventually give rise to the image as shown below as it is.
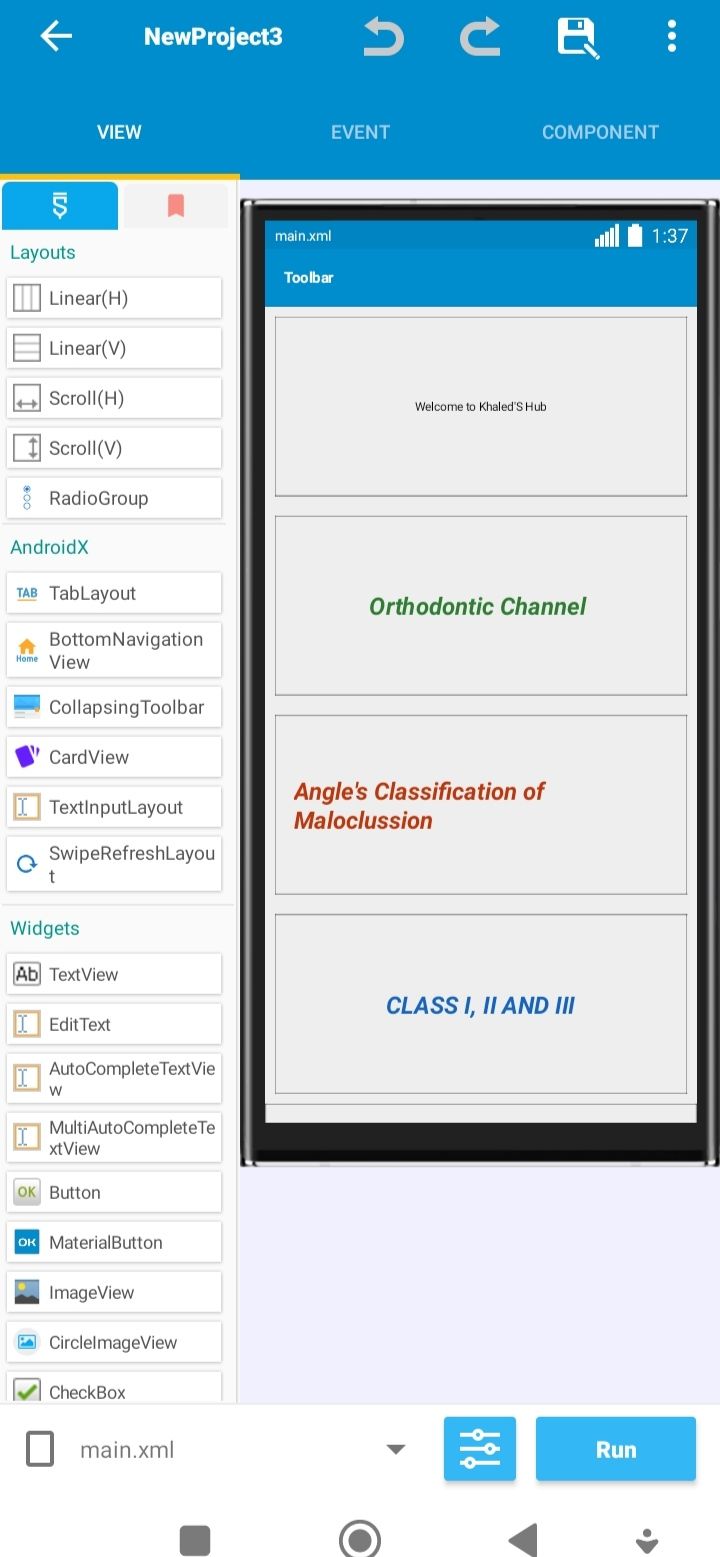
You might noticed that after adding the images into marginalized layouts the images might not be showing completely with the normal standard height, so in order to achieve a normal standard height a Scroll option should be clicked from the beginning of the app development process using the software which would be discussed in the subsequent posts.
What is being demonstrated in this post is the addition of margins to layout boxes in the app pages.
That's all as regards this write-up.
Thanks for the usual Support and Happy Sereying
Note: ALL SCREENSHOTS TAKEN WITH MY REDMI CLASSIC DEVICE
Comments